文章: Microstructure of White Steel #2 at Different Quenching Temperatures
Microstructure of White Steel #2 at Different Quenching Temperatures
To more clearly illustrate the grain coarsening caused by overheating during the quenching stage, I have referred to a set of experimental data on Hitachi Metals' White Steel #2 for reference.
Before sharing these micrographs, it is worth noting that when Hitachi Metals introduced these mass-produced, high-consistency cutlery(tools) steels, they provided comprehensive specifications detailing the optimal temperature ranges for each stage of thermal processing.
For instance, in the technical documentation published by Hitachi Metals, Shirogami No. 1 and No. 2 (White Paper Steel #1 and #2)—which are widely used for chisels (nomi)—share virtually identical optimal temperature ranges for forging, annealing, quenching, and tempering (for detailed figures, please refer to "Hitachi Cutlery Steels"). As long as a blacksmith ensures the steel remains within these recommended parameters throughout each stage, the final metallurgical quality will not fluctuate significantly.
Furthermore, after World War II, many Japanese blacksmiths began adopting modern electrical and gas heating equipment to replace, at least in part, traditional forges fueled by coke or charcoal. These modern apparatuses allowed for precise temperature control—including gas forges, electric kilns, electric oil baths (for tempering), and electric lead baths (for quenching). Notable blacksmiths who adopted such methods include the third-generation Ichihiro, Usui Kengo, and Funahiro, among others. With these controls in place, the quality of their finished steel tended to be remarkably stable and reliable.
At the same time, although some traditional blacksmiths insisted on using conventional forges, most of them had undergone rigorous foundational training. Relying purely on accumulated experience—such as reading the incandescent color of the heated steel to gauge temperature—they, too, were capable of producing exceptional tools. Renowned makers such as Kiyotada and Kanda Kikuo(Mosaku) are prime examples of this mastery.
That being said, even with the introduction of more modern equipment, these workshops remained fundamentally human-centered, traditional smithies. During the high-temperature forging and shaping stage, variations in skill between individual smiths, fluctuations in a smith's physical condition (both daily fatigue and the natural effects of aging), and the geometric complexity of the tool itself could easily cause the workpiece to linger too long in the high-heat zone, making grain coarsening virtually inevitable.
Furthermore, during the quenching phase with traditional forges, the varying thickness and geometry of a workpiece naturally cause uneven heating rates. It was quite common for certain thinner sections to overheat beyond the recommended quenching temperature, resulting in localized grain coarsening.
Because of this, the second-generation Kiyotada (Kiyotada II) would immediately discard a piece and start over if he made a miscalculation or hesitated during the forging and shaping phase. His objective was to complete the shaping in one fluid, uninterrupted motion, minimizing the time the steel spent dwelling at high forging temperatures.
Additionally, according to information Mr. Tsuchida recently shared with me, Kiyotada II used a clever heating technique during the quenching phase when working with chisels that had a thinner cross-section near the tip: he would place the neck (the transition between the shank and the blade) in the center of the forge fire first. Once this thicker mass approached the target quenching temperature range, he would make minor adjustments to the workpiece's position to gently bring the thinner area near the tip to temperature. This ensured that the entire chisel achieved the optimal quenching temperature concurrently, effectively preventing grain coarsening in the delicate region near the tip.
Mr. Tsuchida also mentioned that Kiyotada passed this specific technique on to Konobu. This insight directly solved a puzzle for me regarding a remark I had heard earlier from Mr. Kurashige: he noted that during carving, Konobu’s inside-bevel gouges (uchimaru-nomi) were remarkably resistant to chipping along the lateral corners of the cutting edge, whereas gouges from other smiths often suffered chipping in those exact spots. I am convinced this superior edge retention was the direct result of applying the quenching technique shared by Kiyotada.
Below are the metallographic micrographs of Shirogami No. 2 steel from this study. A similar experimental study on Blue steel #2 is also available (click the blue text in the article to download).
Note: The optimal quenching temperature range for White Steel No. 2 is 760–800°C (water quench), and the optimal tempering temperature range is 180–220°C (air cool). Source: "Hitachi Cutlery Steel."

1: Quenching: Held at 750°C for 20 min, then water-quench;
Tempering: Held at 180°C for 1 h, then air-cooled;
Tempering: Held at 180°C for 1 h, then air-cooled;
“Figure 1 shows the microstructure of white steel No. 2 quenched at a temperature slightly below the ideal quenching temperature. Cementite and ferrite (white regions) can be observed within the quenched martensite matrix (gray structure). Because ferrite is a considerably soft phase, the resulting hardness was relatively low when quenched at 750°C.”

2: Quenching: Held at 775°C for 20 min, then water-quench;
Tempering: Held at 180°C for 1 h, then air-cooled;
Tempering: Held at 180°C for 1 h, then air-cooled;
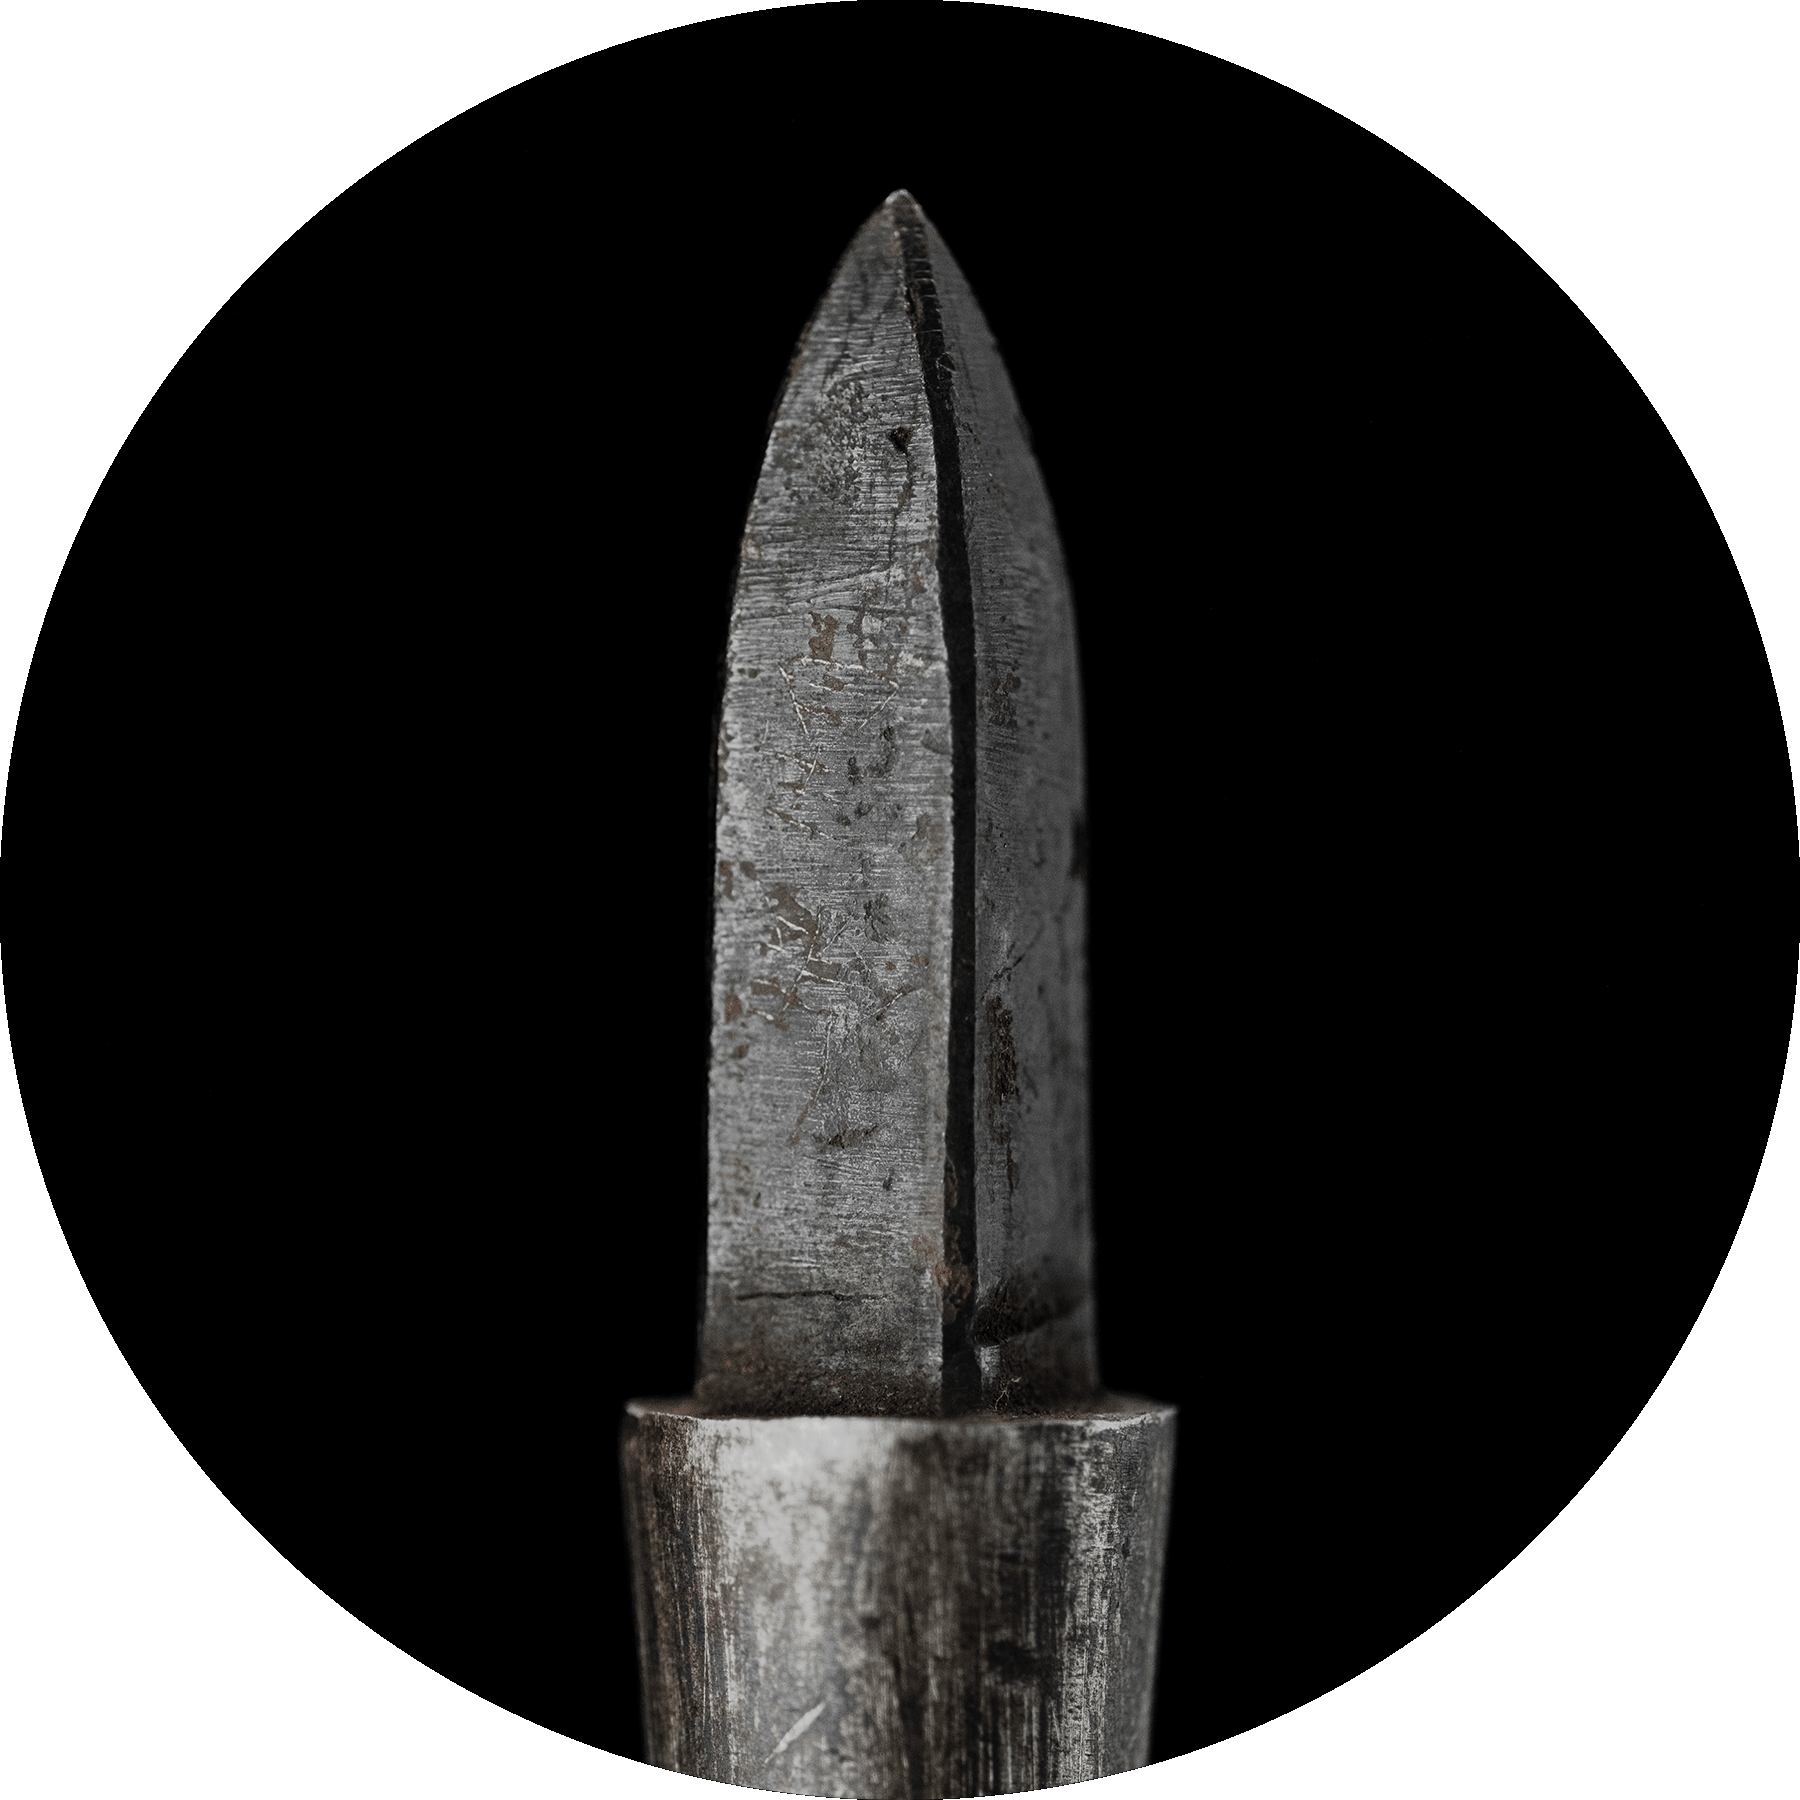
“Figure 2 shows the microstructure of Shirogami No. 2 steel quenched at the ideal quenching temperature, exhibiting a uniform and dense tempered martensite structure.” Presumably, only when the metal microstructure reaches the state shown in Figure 2 can a continuous, wire-like burr form along the cutting edge. This is illustrated below by the burr on a Kiyotada chisel edge, which is also forged from Shirogami No. 2 steel.

The following five images sequentially show the microstructures for quenching temperatures of 800°C, 825°C, 850°C, 875°C, and 900°C followed by water quenching, with all specimens tempered at 180°C followed by air cooling.


“These five images show the microstructures of white steel No. 2 when quenched above the ideal temperature, demonstrating that the quenched martensite progressively coarsens as the quenching temperature rises. ”